Title here
Summary here
The Case Categories feature provides administrators with the ability to define and manage different categories of customer cases and complaints, ensuring that each case is properly classified, assigned, and tracked according to its nature. It provides a structured approach to case handling, enabling better organization, faster resolution, and improved reporting on customer service activities.
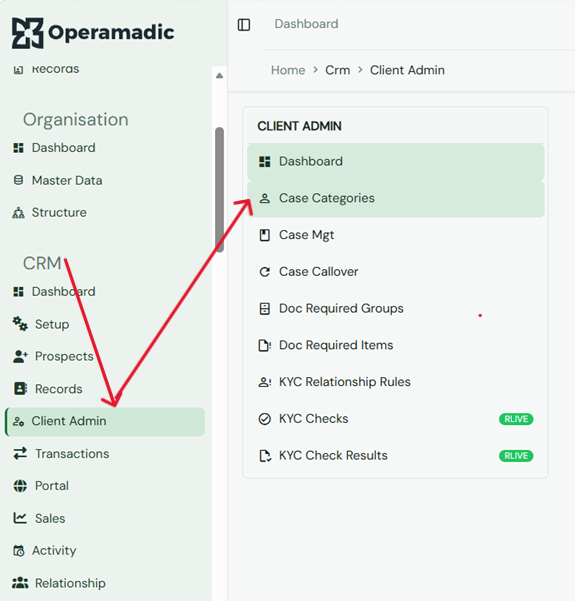
To navigate to case categories, from the homepage of the ERP, on the side bar navigation locate the “CRM” module and click on it, you will see a list of drop down menus, select the “Client Admin” sub menu in the dropdowm menus, you will see a list of menus on the client admin dashboard, now select the case categories menu. see image below
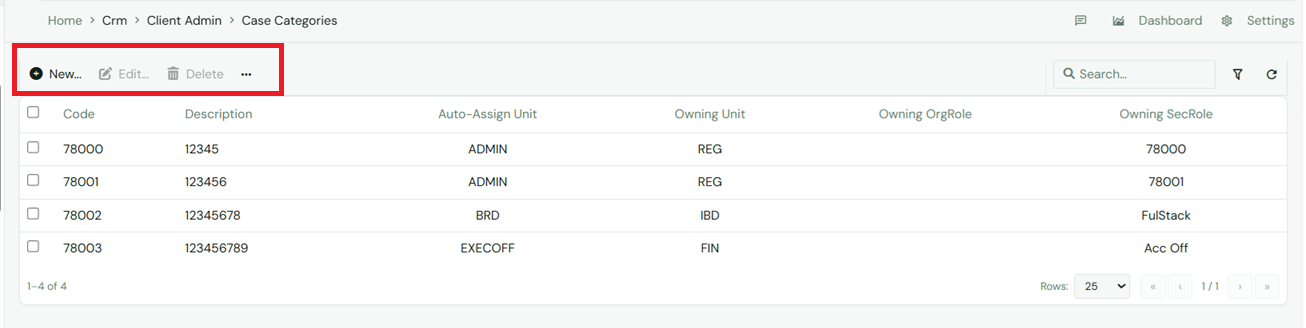
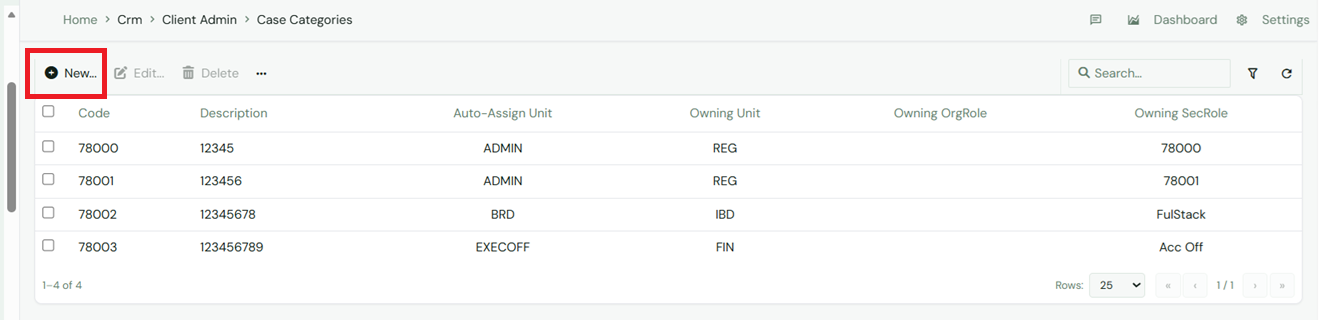
The Case Categories view provides administrators with a centralized list of all configured case categories with a summarized view of their details. You also have a group of commands above the list of cases, that you can use to perform various actions on a particular case by selecting the checkbox on the left hand side of the case code.
You can quickly search for a case category by entering information such as the category code, description, auto-assign unit, owning unit, or owning security role using the search bar located in the top right corner of the screen.
Once you have entered your search criteria, press the Enter key or click the refresh icon located to the right of the filter button to execute the search and update the list of case categories.
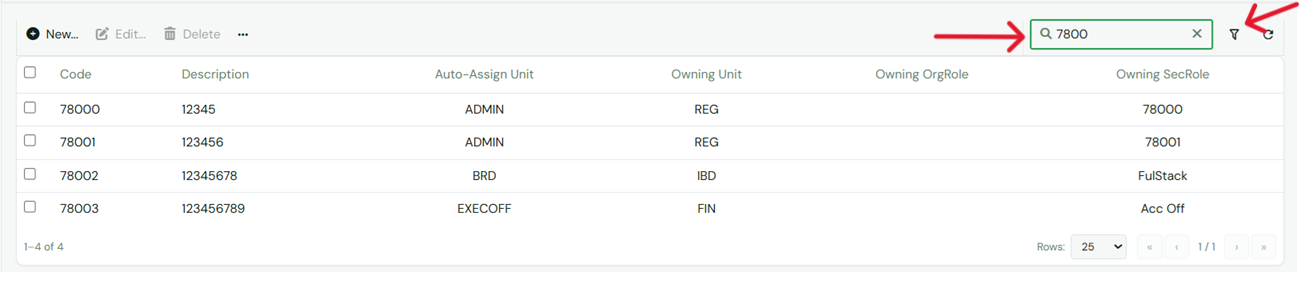
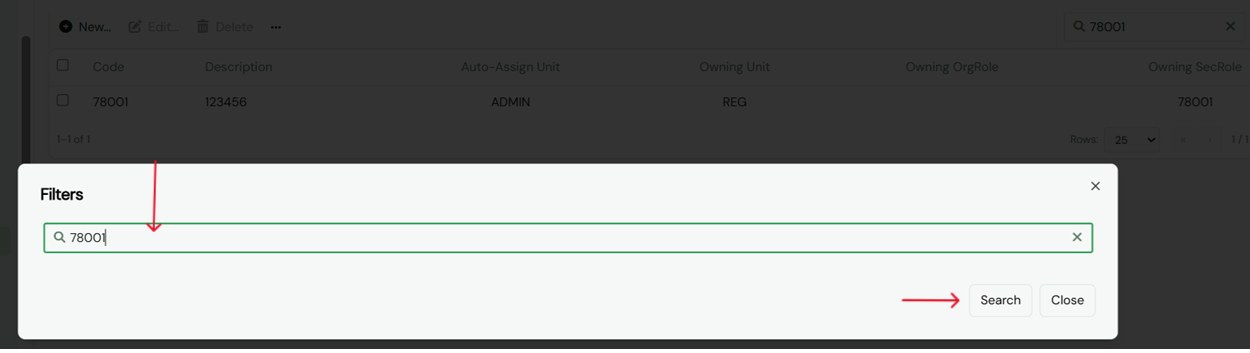
To further refine your search, you can use the filter button (funnel icon) next to the search bar to apply more specific criteria and narrow down the displayed case categories. See image below
To export the data of the case categories, go to the three dots alongnext to the command buttons. Click on the export button, you will notice your browser automatically downloads a file called “PartnerCaseCategoryTO_Customer_{export date}” or shows a popup asking you to save or download the a excel document with the name as shown in the image below


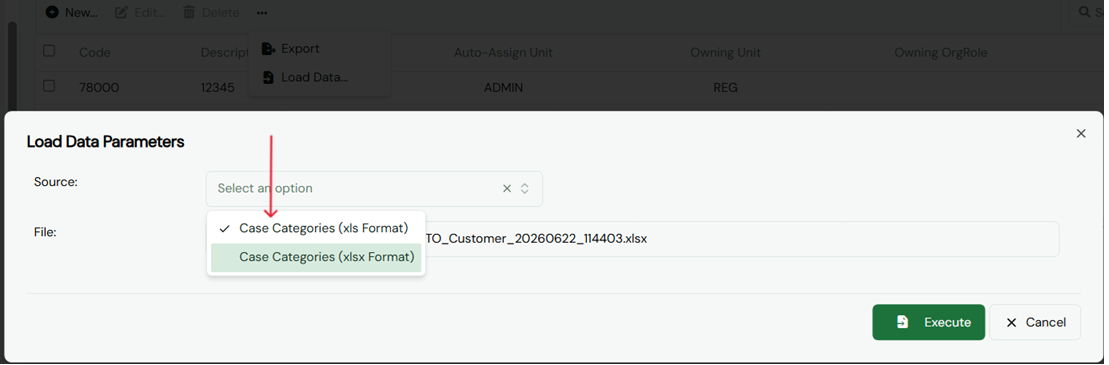
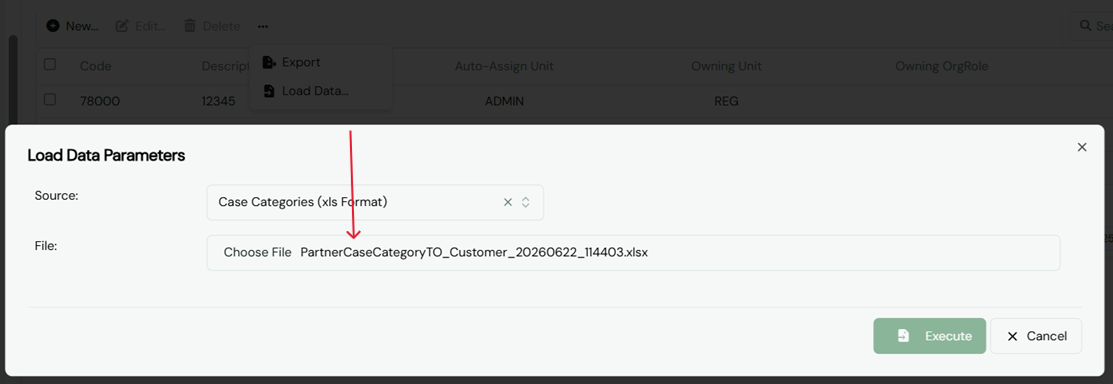
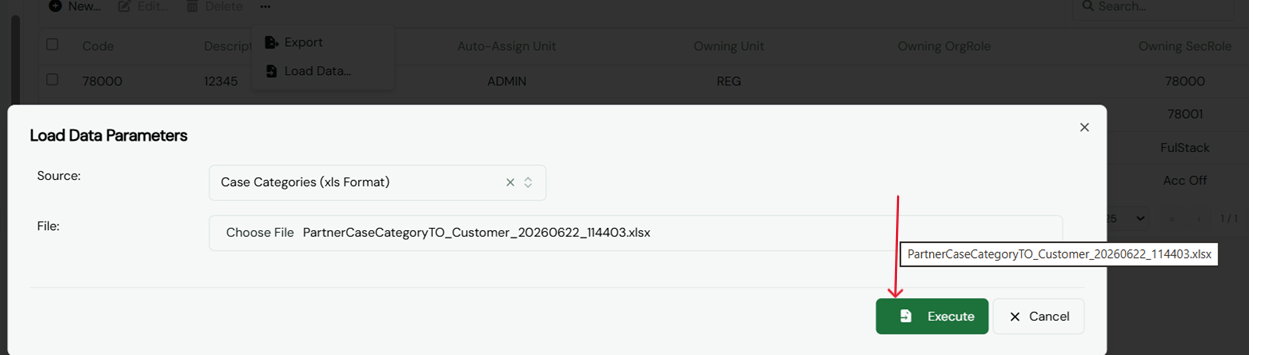
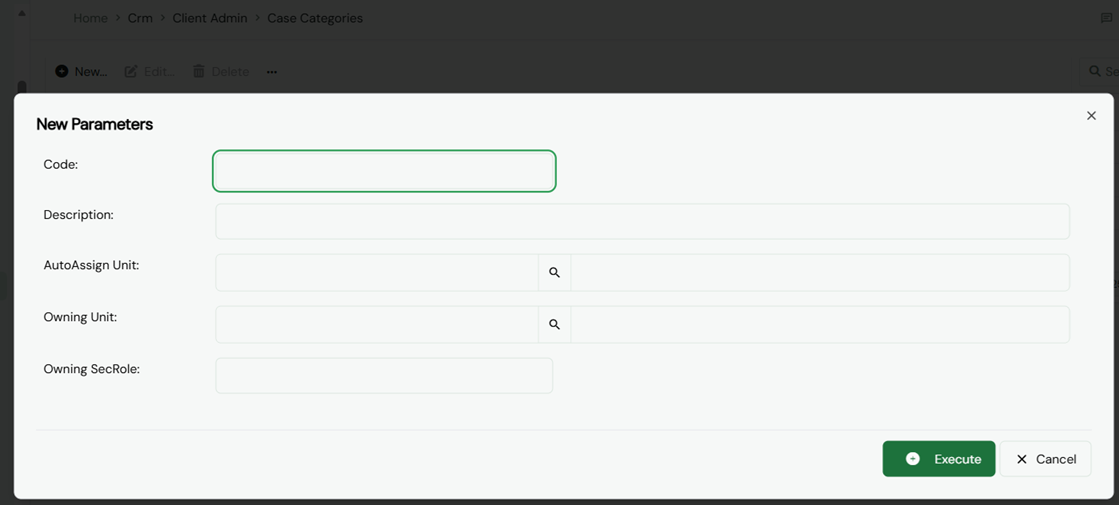
Enter new category details After clicking the new button you will see the new category onboarding form, note: make sure you fill in the form fields and every necessary details else the form will fail to save. You will fill in the code, Description, AutoAssignUnit, Owning unit and owning SecRole and proceed to execute. See image below